[Spring] Spring security
https://spring.io/guides/gs/securing-web/
Securing a Web Application
this guide is designed to get you productive as quickly as possible and using the latest Spring project releases and techniques as recommended by the Spring team
spring.io
가이드 따라 하기🙄
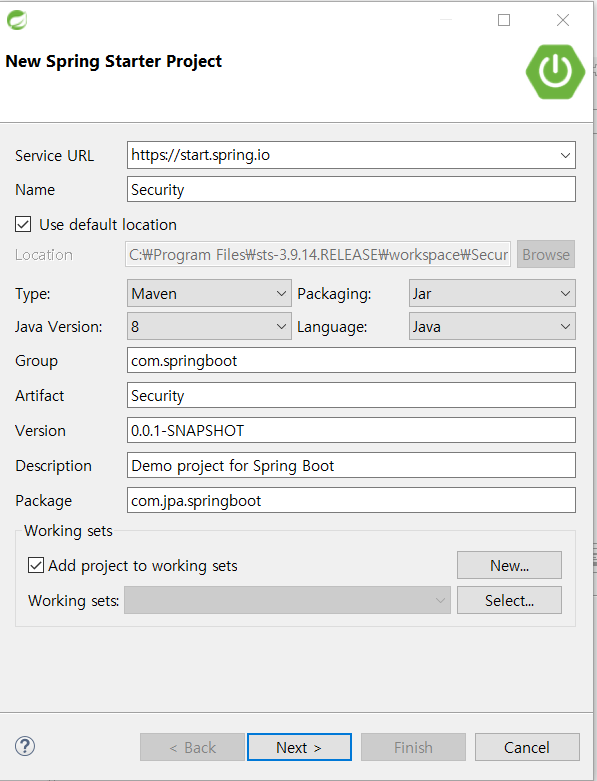
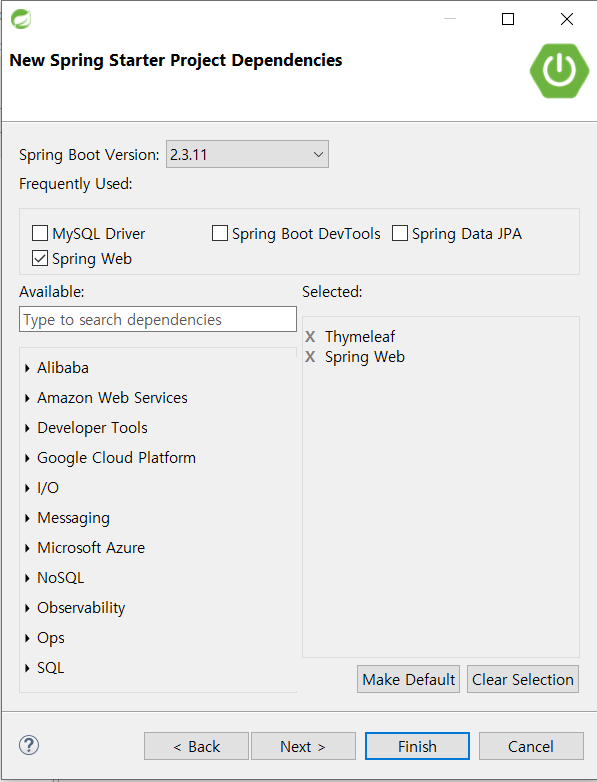
1. 프로젝트 생성
2. Create an Unsecured Web Application
2.1 먼저 template하위에 home.html,

hello.html생성

2.2 메인패키지?안에 MvcConfig생성
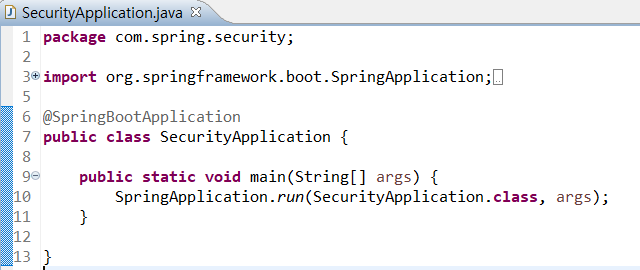
package com.spring.security;

import org.springframework.context.annotation.Configuration;
import org.springframework.web.servlet.config.annotation.ViewControllerRegistry;
import org.springframework.web.servlet.config.annotation.WebMvcConfigurer;

@Configuration
public class MvcConfig implements WebMvcConfigurer {

	public void addViewControllers(ViewControllerRegistry registry) {
		registry.addViewController("/home").setViewName("home");
		registry.addViewController("/").setViewName("home");
		registry.addViewController("/hello").setViewName("hello");
		registry.addViewController("/login").setViewName("login");
	}

}- addViewControllers()는 WebMvcConfigurer를 오버라이딩한 것
- 4줄 있는데 1,2번째는 home.html
- 3번째는 hello.html
- 4번째는 login.html(앞으로 만들 것)의 뷰네임을 불러온 것
3. 스프링시큐리티 생성
만약 /hello에서 승인되지 않은 사용자가 볼 수 없게 만들고 싶다면 barrier를 쳐서 방문자가 페이지에 승인되기 전에 막을 수 있다.
만약 스프링시큐리티가 classpath안에 있다면 스프링부트는 자동으로 http endpoint기능을 사용해서 기본 authentication을 실행한다.
하지만 기본 + 커스터마이징도 가능함
3.1 dependencies추가하기
그레이들(build.gradle)
implementation 'org.springframework.boot:spring-boot-starter-security'
implementation 'org.springframework.security:spring-security-test'
메이븐(pom.xml)
<dependency>
  <groupId>org.springframework.boot</groupId>
  <artifactId>spring-boot-starter-security</artifactId>
</dependency>
<dependency>
  <groupId>org.springframework.security</groupId>
  <artifactId>spring-security-test</artifactId>
  <scope>test</scope>
</dependency>
3.2 WebSecurityConfig.java 생성
package com.example.securingweb;

import org.springframework.context.annotation.Bean;
import org.springframework.context.annotation.Configuration;
import org.springframework.security.config.annotation.web.builders.HttpSecurity;
import org.springframework.security.config.annotation.web.configuration.EnableWebSecurity;
import org.springframework.security.config.annotation.web.configuration.WebSecurityConfigurerAdapter;
import org.springframework.security.core.userdetails.User;
import org.springframework.security.core.userdetails.UserDetails;
import org.springframework.security.core.userdetails.UserDetailsService;
import org.springframework.security.provisioning.InMemoryUserDetailsManager;

@Configuration
@EnableWebSecurity
public class WebSecurityConfig extends WebSecurityConfigurerAdapter {
	@Override
	protected void configure(HttpSecurity http) throws Exception {
		http
			.authorizeRequests()
				.antMatchers("/", "/home").permitAll()
				.anyRequest().authenticated()
				.and()
			.formLogin()
				.loginPage("/login")
				.permitAll()
				.and()
			.logout()
				.permitAll();
	}

	@Bean
	@Override
	public UserDetailsService userDetailsService() {
		UserDetails user =
			 User.withDefaultPasswordEncoder()
				.username("user")
				.password("password")
				.roles("USER")
				.build();

		return new InMemoryUserDetailsManager(user);
	}
}- WebSecurityConfig클래스는 @EnableWebSecurity를 어노테이션으로 갖고
- WebSecurityConfigurerAdapter를 extend 한다.
- configure(HttpSecurity) 메서드는 어떤 url경로를 보안설정할 것이고 아닐 것인지 결정한다.
- 지금 하는 실습에는 / 와 /home경로는 어떤 인증도 필요하지 않고 나머지는 다 필요함
- userDetailsService() 메서드는 in-memery 유저를 하나의 유저로 보관한다.
- builder패턴으로 아이디 비밀번호 설정
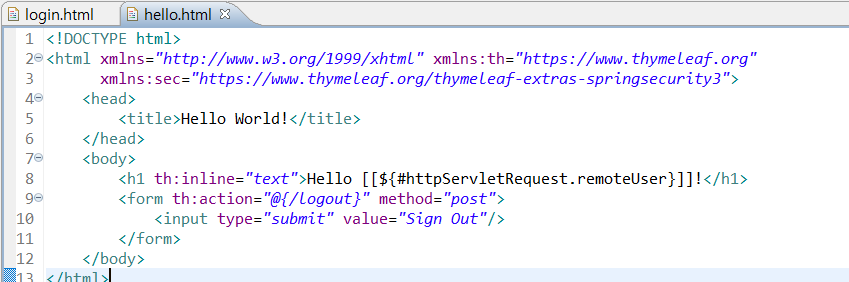
3.3 login.html
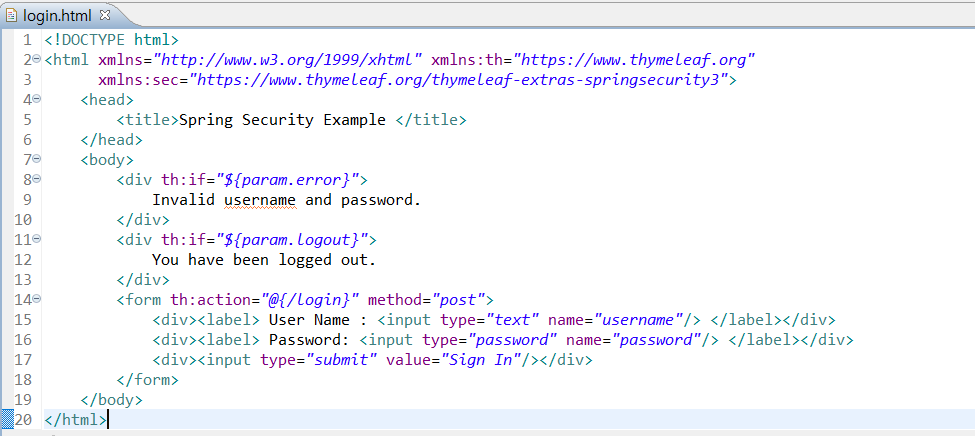
hello.html 수정 - 로그아웃기능
4. 실행
- 처음 8080 들어갔을 때

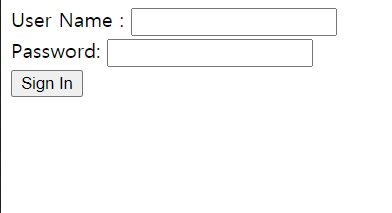
- 여기를 클릭하면 나오는 로그인 페이지
-초기 name password는 userDetailsService에서 설정한 user-password이다.
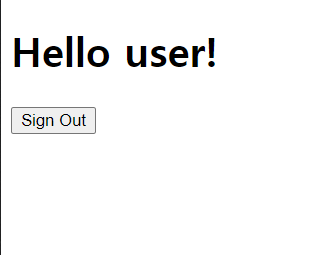
-로그인 성공
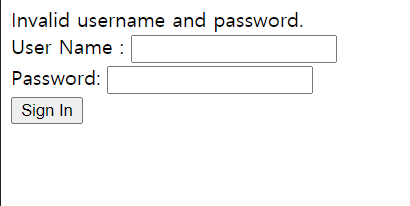
- 로그인 실패